Tips
7 Ways To Sharpen Hair Scissors at Home

As a hairstylist, I know there’s nothing worse than a dull pair of scissors—they tug, they fold the hair, and they ruin a good cut. Keeping your shears sharp is essential, and while sending them to a professional sharpener is ideal, sometimes you need a quick fix at home or in the salon. Before we dive into the “7 different ways you can sharpen hair scissors”, let’s cover the basics—when to sharpen and how to avoid disaster. Then, I’ll walk you through some tried-and-true ways to get those blades back in action.
Knowing When Your Hair Scissors Need a Tune-Up
How do you know it’s time? Dull scissors don’t just make your day harder—they can ruin a cut. Here’s how I tell when my shears need some love:
- Tugging or Pulling: If they’re yanking hair instead of slicing clean, that’s a red flag.
- Folding Hair: When hair bends or folds between the blades, they’re not cutting—they’re failing.
- Ragged Edges: Uneven or jagged cuts? Your scissors are crying for help.
- Extra Muscle: If you’re pushing harder than usual to get through hair, they’re dull.
- The Wet Hair Trick: Grab a damp cotton ball or a single wet strand. If the cut’s frayed or the scissors stumble, it’s time.
Don’t wait until they’re useless. Catching it early makes sharpening simpler and keeps your blades in fighting shape.
A Quick Word of Caution
Hair scissors aren’t like your kitchen shears—they’ve got fine, razor-sharp edges honed at precise angles. One wrong move while sharpening can wreck them for good, and trust me, you don’t want to trash a good pair. If you’re going the DIY route, here’s what you need:
- The Right Gear: Get a quality whetstone or a tool made for fine blades—cheap stuff won’t cut it.
- Steady Hands: Sharpening’s no rush job. Take your time and stay focused.
- Know-How: Watch some pros online and nail down the right angles for your shears.
Heads-up: Messing up could void your warranty. If they’re high-end scissors, sometimes it’s smarter—and cheaper—to let a professional handle it.
Here are the 7 different ways you can sharpen your hair scissors.
Method #1: Sharpen your Hair Scissors with a Whetstone
If you’ve got a whetstone and a steady hand, this is one of the best ways to bring your scissors back to life. Whetstones are a staple for sharpening all kinds of blades, including hair shears, and you can grab one at a hardware store or online.
- Step 1: Soak the whetstone in water for a few minutes until it’s fully wet—dry stones can scratch your blades.
- Step 2: Lay your scissors flat on the stone, blade down, keeping the cutting edge in full contact with the surface.
- Step 3: With light, even pressure, slide the blade back and forth across the stone—aim for 15-20 strokes per side. Work the entire length of the edge for a consistent sharpness.
- Step 4: Rinse the stone and blades with water, then wipe them clean with a damp paper towel. No residue, no problems.
- Step 5: Test it out on a small section of hair. If it’s pulling or bending instead of slicing, give it another round.
Pro Tip: Patience is key here. Go slow to avoid nicks or uneven edges—your shears will thank you.
Method #2: Using Glass or Aluminum (The Mason Jar Trick)
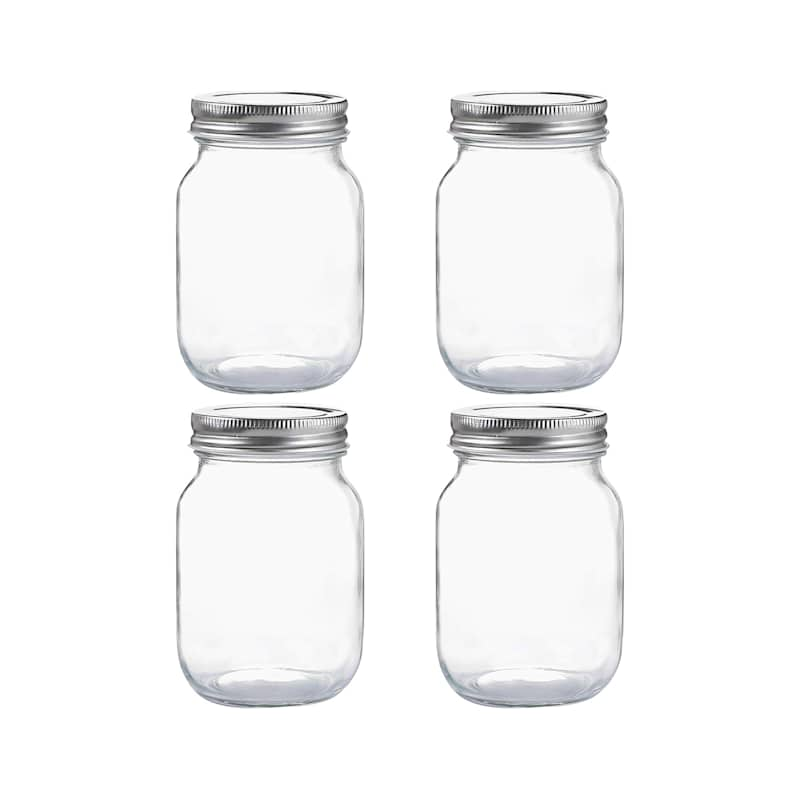
This one’s a bit unconventional, but it works in a pinch. A mason jar or some aluminum foil can double as a sharpening tool when you’re short on options.
- Step 1: For glass, grab a mason jar—its thick sides are perfect. For aluminum, cut strips roughly the size of your scissor blades.
- Step 2: Set the jar or foil on a flat surface, then position your scissors with the blades facing down.
- Step 3: Press the handles firmly and run the blades back and forth across the surface—about 15 strokes per side.
- Step 4: Rinse off any debris from the blades and dry them thoroughly.
- Step 5: Test on a lock of hair. If it’s still rough, repeat until the edge feels smooth and sharp.
Pro Tip: This isn’t as precise as a whetstone, so use it sparingly—especially on high-end shears—to avoid over-wearing the blades.
Method #3: Quick Fix with Rubbing Alcohol
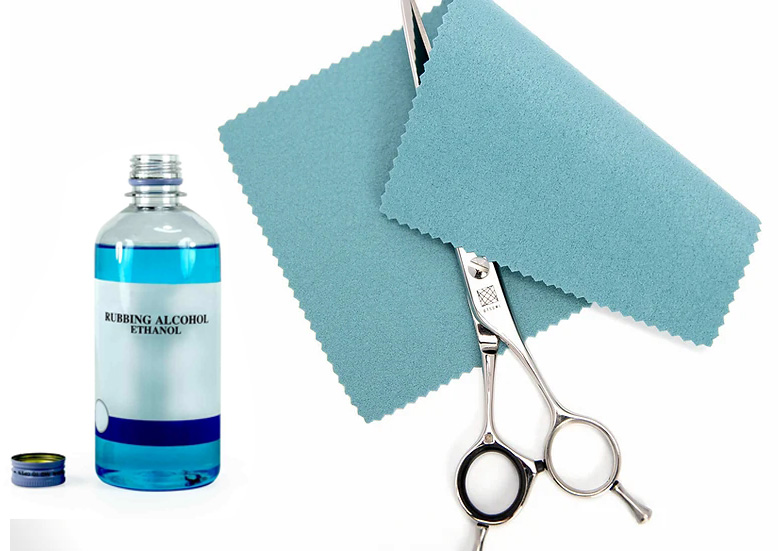
Barbers swear by this one when time’s tight. Rubbing alcohol cleans and slightly hones the edge—not a full sharpening, but it’ll get you through a busy day.
- Step 1: Pour some rubbing alcohol into a small bowl—enough to submerge the blades.
- Step 2: Soak your scissors in it for about 15 minutes.
- Step 3: Pull them out, dry them off with a towel, and give them a quick wipe.
- Step 4: Test on hair. If it’s still catching, soak them again for another round.
Pro Tip: This is more of a maintenance trick than a true sharpening method. Keep alcohol handy for a fast refresh between cuts.
Method #4: Sandpaper for a Rough Edge
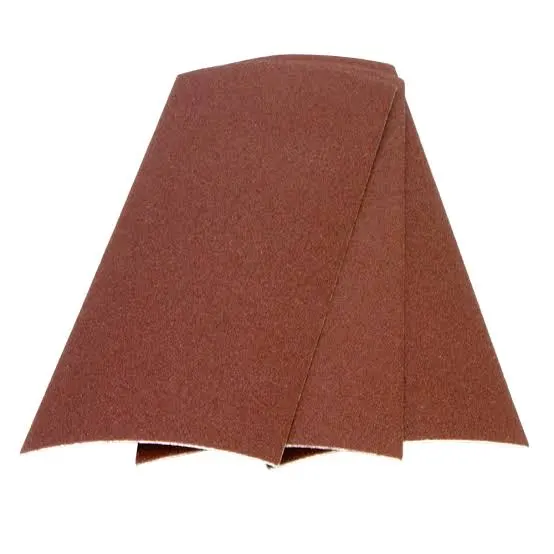
Sandpaper’s a gritty, no-frills option when you’re out of tools. It’s not my favorite—it can leave scratches—but it’ll do the job if you’re desperate.
- Step 1: Cut a strip of medium-grit sandpaper (around 200-400 grit) to match your blade length.
- Step 2: Lay it flat, then place your scissors on top, blades down.
- Step 3: Apply steady pressure and slide the blades back and forth—15 strokes per side.
- Step 4: Rinse and dry the blades to remove any grit.
- Step 5: Test on hair. If it’s tugging, repeat carefully.
Pro Tip: Skip this for pricey shears—those scratch marks can be a nightmare to buff out.
Method #5: Use Knife Sharpener to Sharpen Hair Scissors
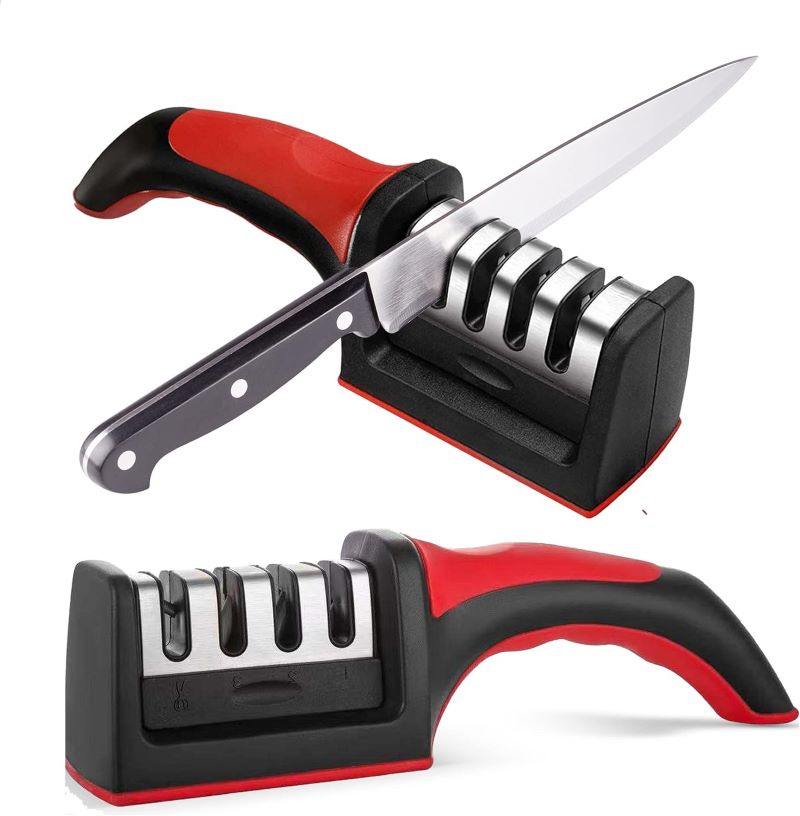
Got a knife sharpener lying around? It can work for scissors too, though the angle isn’t always perfect for hair shears.
- Step 1: Set the sharpener on a stable surface.
- Step 2: Slot your scissor blades into the sharpener, facing down.
- Step 3: Gently pull the blades through 15-20 times per side—don’t force it.
- Step 4: Rinse and dry the blades.
- Step 5: Test on hair to check the edge.
Pro Tip: Knife sharpeners are built for tougher blades, so I’d avoid this on delicate or expensive shears unless you’re confident with the tool.
Method #6: Metal Pin Technique to Sharpen Hair Scissors
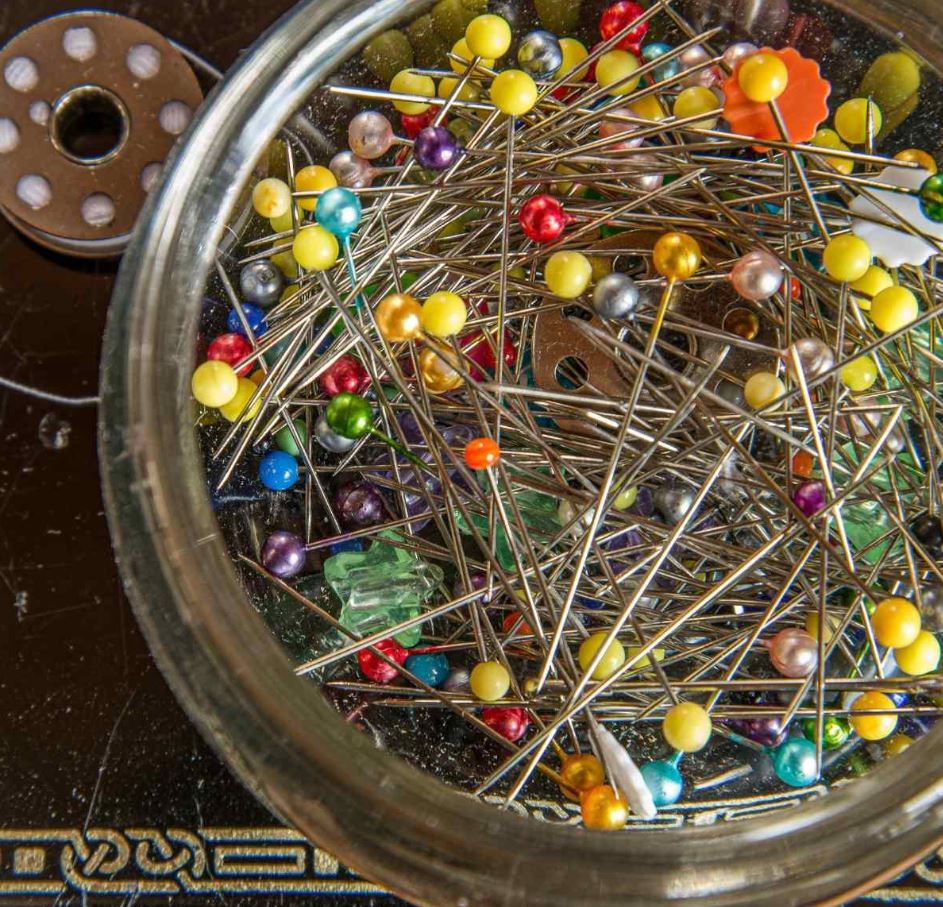
This one’s old-school and subtle. A metal sewing pin can refine your edge by realigning it as you cut.
- Step 1: Hold a sturdy metal pin (like a sewing pin) between the blades.
- Step 2: Gently close the scissors around the pin, letting it slide along the edge—repeat 5-10 times.
- Step 3: Wipe the blades clean and test on hair.
Pro Tip: Don’t press too hard—you’re not grinding here, just smoothing the edge.
Method #7: Sharpen Scissors With a Metal File
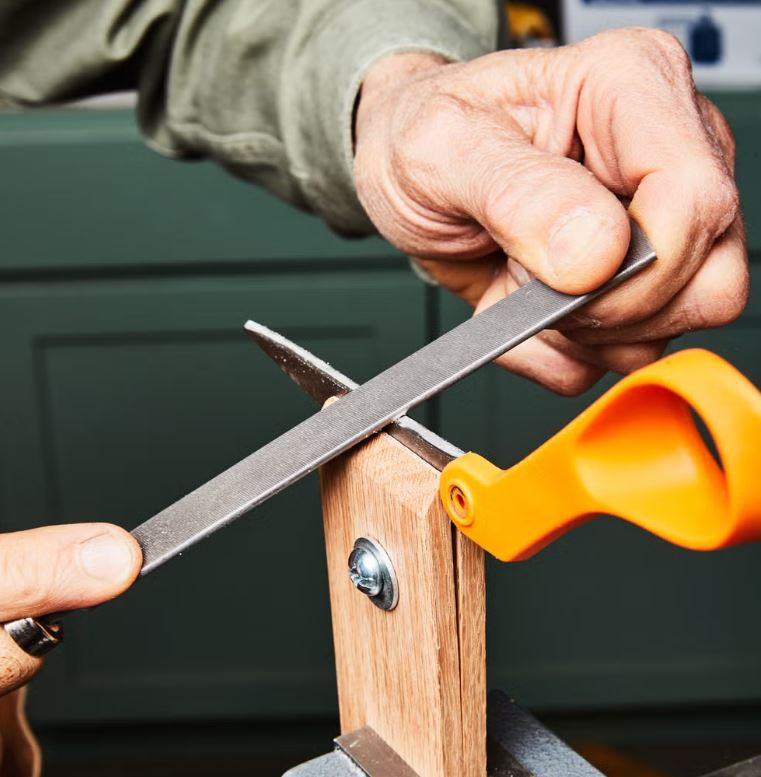
A sharpening file is a solid last resort. It’s rough and hands-on, perfect for breathing life back into beat-up shears.
- Step 1: Pick a medium file (8-12 inches works best for small blades) and disassemble your scissors if possible.
- Step 2: Hold the blade steady in one hand, file in the other. Drag the file from the base to the tip in one direction—5-10 passes per blade.
- Step 3: Repeat on the other blade, keeping the angle consistent.
- Step 4: Rinse, dry, and reassemble. Test on hair.
Pro Tip: Keep the file moving in one direction—back-and-forth can dull the edge instead.
Each of these methods has its place, but if you’re serious about your craft, a whetstone or a trip to a professional sharpener is the gold standard to sharpen hair scissors. For quick fixes, aluminum, alcohol, or a pin can save the day. Whatever you choose, test your shears after every method—smooth, clean cuts are the goal. Dull scissors don’t just mess up hair; they mess up your reputation. Keep ‘em sharp, and keep ‘em cutting!